
How to Convert an HTML Template Into a WordPress Theme
By Manob Editorial ·
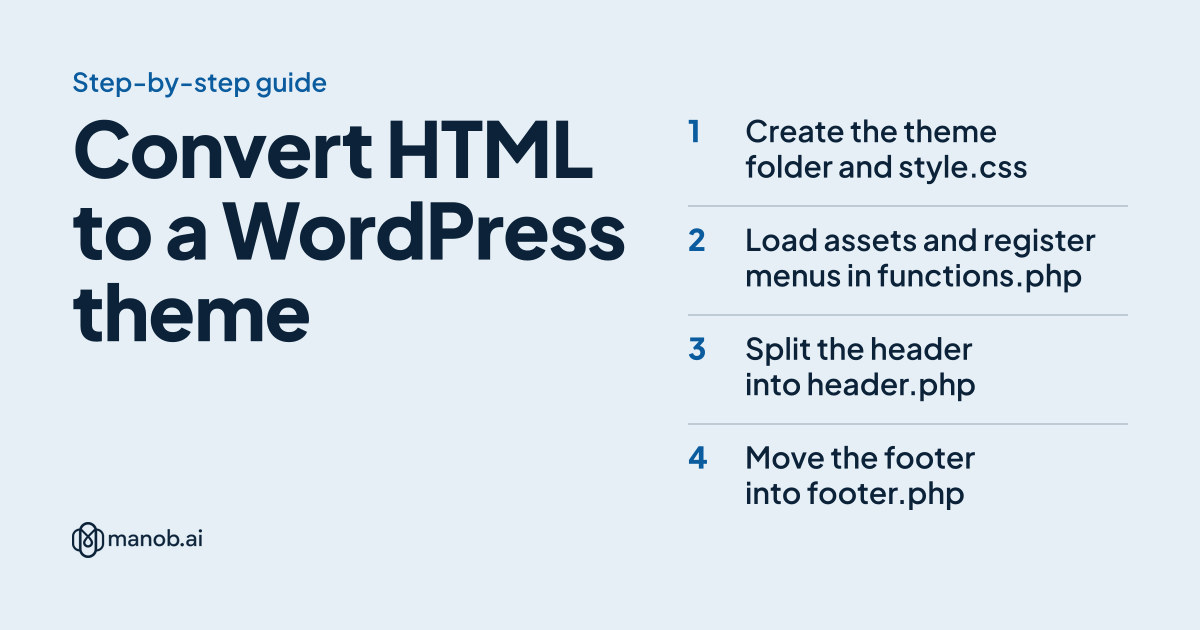
To convert HTML to a WordPress theme, create a theme folder with style.css (holding a Theme Name header) and index.php. Split the HTML into header.php, footer.php and page templates, load the CSS and JavaScript from functions.php with wp_enqueue_style and wp_enqueue_script, swap hard-coded menus and text for WordPress functions, then zip and upload it.
The theme files below were tested on WordPress 7.1.3 in WordPress Playground on October 14, 2026. Function names and rules come from the WordPress Theme Handbook.
Classic theme or block theme?
WordPress has two kinds of themes, and the choice decides how much rebuilding you do:
- Classic theme: PHP template files that output your HTML, with WordPress functions where content should be dynamic. It stays closest to the template you have, and it's what this guide builds. The handbook's template files page says index.php and style.css are required in all themes.
- Block theme: HTML templates made of blocks, edited visually in the Site Editor. The handbook's theme structure page lists style.css and templates/index.html as the two necessary files, with theme.json optional. Converting means rebuilding each section as blocks or patterns: more work up front, but people without code access can edit everything later.
If the site's owner will edit only text, images and blog posts, a classic theme is the shorter path.
Before you start
- Get a local WordPress. WordPress Playground's CLI needs only Node.js 20.18 or later. Run this inside your theme folder and it starts WordPress with the folder mounted. In our test, the theme was also activated:
cd brightline npx @wp-playground/cli@latest server --auto-mount - Map the HTML pages to templates. The home page becomes
front-page.php, generic pages such as About becomepage.php, a blog list falls back toindex.php, and single posts usesingle.phpif you add one. - Read the template's license. Converting for your own site or a client's is usually covered; more on that at the end.
Step 1: Create the theme folder and style.css
brightline/
├── style.css          theme header (required)
├── index.php          fallback template (required)
├── functions.php
├── header.php
├── footer.php
├── front-page.php
├── page.php
├── screenshot.png     preview shown under Appearance → Themes
└── assets/
    ├── css/           bootstrap.min.css, main.css (the template's own CSS)
    ├── js/            bootstrap.bundle.min.js, main.js
    └── img/
Copy the template's assets folder in as it is, and rename its stylesheet to main.css so it doesn't clash with the theme's style.css. That file starts with a comment WordPress reads:
/*
Theme Name: Brightline
Author: Your Name
Description: Classic theme converted from the Brightline HTML template.
Version: 1.0.0
Requires at least: 6.4
Tested up to: 7.1
Requires PHP: 7.4
License: GNU General Public License v2 or later
License URI: https://www.gnu.org/licenses/gpl-2.0.html
Text Domain: brightline
*/
The main stylesheet docs say Theme Name is the only field required for WordPress to recognize the theme. The others are required only for themes submitted to the WordPress.org directory, but they're worth filling in.
Step 2: Load assets and register menus in functions.php
Don't hard-code <link> and <script> tags in the header. The handbook's guide to including CSS and JavaScript says the proper way is to enqueue them in functions.php, on the wp_enqueue_scripts hook:
<?php
function brightline_setup() {
    add_theme_support( 'title-tag' );
    add_theme_support( 'post-thumbnails' );
    add_theme_support( 'html5', array( 'search-form', 'gallery', 'caption', 'style', 'script' ) );

    register_nav_menus(
        array(
            'primary' => __( 'Primary menu', 'brightline' ),
            'footer'  => __( 'Footer menu', 'brightline' ),
        )
    );
}
add_action( 'after_setup_theme', 'brightline_setup' );

function brightline_assets() {
    $uri = get_template_directory_uri();
    $ver = wp_get_theme()->get( 'Version' );

    wp_enqueue_style( 'bootstrap', $uri . '/assets/css/bootstrap.min.css', array(), '5.3.8' );
    wp_enqueue_style( 'brightline-main', $uri . '/assets/css/main.css', array( 'bootstrap' ), $ver );
    wp_enqueue_style( 'brightline-style', get_stylesheet_uri(), array( 'brightline-main' ), $ver );

    wp_enqueue_script( 'bootstrap', $uri . '/assets/js/bootstrap.bundle.min.js', array(), '5.3.8', array( 'in_footer' => true ) );
    wp_enqueue_script( 'brightline-main', $uri . '/assets/js/main.js', array( 'bootstrap' ), $ver, array( 'in_footer' => true ) );
}
add_action( 'wp_enqueue_scripts', 'brightline_assets' );
The third argument lists dependencies, so the files print in the right order: Bootstrap, then the template's CSS, then style.css for your overrides. The in_footer array replaced the old true/false argument in WordPress 6.3. title-tag lets WordPress write the page's <title>, so remove the one from your HTML.
Step 3: Split the header into header.php
Cut everything from <!doctype html> down to the end of the site header out of your index.html. Then make these replacements:
<!doctype html>
<html <?php language_attributes(); ?>>
<head>
    <meta charset="<?php bloginfo( 'charset' ); ?>">
    <meta name="viewport" content="width=device-width, initial-scale=1">
    <?php wp_head(); ?>
</head>
<body <?php body_class(); ?>>
<?php wp_body_open(); ?>
<header class="site-header">
    <nav class="navbar">
        <a href="<?php echo esc_url( home_url( '/' ) ); ?>" class="logo">
            <img src="<?php echo esc_url( get_template_directory_uri() . '/assets/img/logo.svg' ); ?>" alt="<?php bloginfo( 'name' ); ?>">
        </a>
        <?php
        wp_nav_menu(
            array(
                'theme_location' => 'primary',
                'container'      => false,
                'menu_class'     => 'nav-links',
                'fallback_cb'    => false,
            )
        );
        ?>
    </nav>
</header>wp_head()prints the enqueued CSS, the title and anything plugins add. Without it, your styles won't load.body_class()andwp_body_open()give plugins and your CSS the hooks they expect.- Every image path in a template file needs
get_template_directory_uri(), because WordPress pages don't live in the theme folder. Paths inside your CSS files stay relative and keep working. - The hard-coded
<ul>becomeswp_nav_menu(). WordPress marks the current page with acurrent-menu-itemclass on the<li>instead of the template'sactiveclass on the link, so update that CSS rule:.nav-links .current-menu-item > a.
Step 4: Move the footer into footer.php
<footer class="site-footer">
<?php
wp_nav_menu(
array(
'theme_location' => 'footer',
'container' => false,
'fallback_cb' => false,
)
);
?>
<p>© <?php echo esc_html( date_i18n( 'Y' ) ); ?> <?php bloginfo( 'name' ); ?></p>
</footer>
<?php wp_footer(); ?>
</body>
</html>wp_footer() is where scripts enqueued with in_footer print, so leave it just before </body>.
Step 5: Write index.php with the Loop
index.php is the fallback for every view without its own template, including the blog list. The Loop prints whatever WordPress fetched for the current URL:
<?php get_header(); ?>
<main class="container">
    <?php if ( have_posts() ) : ?>
        <?php while ( have_posts() ) : the_post(); ?>
            <article id="post-<?php the_ID(); ?>" <?php post_class( 'post-card' ); ?>>
                <h2><a href="<?php the_permalink(); ?>"><?php the_title(); ?></a></h2>
                <?php the_excerpt(); ?>
            </article>
        <?php endwhile; ?>
        <?php the_posts_pagination(); ?>
    <?php else : ?>
        <p><?php esc_html_e( 'Nothing found.', 'brightline' ); ?></p>
    <?php endif; ?>
</main>
<?php get_footer(); ?>
Reuse the template's own blog-card markup inside the <article>, so the list looks like the HTML version.
Step 6: Build page.php and front-page.php
page.php handles About, Services, Contact and any other page the owner creates. Paste the template's inner-page layout around the_content():
<?php get_header(); ?>
<main class="container">
    <?php while ( have_posts() ) : the_post(); ?>
        <article id="post-<?php the_ID(); ?>" <?php post_class(); ?>>
            <h1><?php the_title(); ?></h1>
            <?php the_content(); ?>
        </article>
    <?php endwhile; ?>
</main>
<?php get_footer(); ?>
front-page.php keeps the home page's designed sections. Decide which parts the owner should edit: here the hero headline reads the Tagline from Settings → General, the intro comes from the Home page's content, and the latest three posts load automatically:
<?php get_header(); ?>
<section class="hero">
    <div class="container">
        <h1><?php bloginfo( 'description' ); ?></h1>
        <a href="<?php echo esc_url( home_url( '/contact/' ) ); ?>" class="btn btn-primary">Get a quote</a>
    </div>
</section>

<section class="intro container">
    <?php
    while ( have_posts() ) :
        the_post();
        the_content();
    endwhile;
    ?>
</section>

<section class="latest-posts container">
    <h2>From the blog</h2>
    <?php
    $latest = new WP_Query( array( 'posts_per_page' => 3 ) );
    while ( $latest->have_posts() ) :
        $latest->the_post();
        ?>
        <article class="post-card">
            <h3><a href="<?php the_permalink(); ?>"><?php the_title(); ?></a></h3>
            <?php the_excerpt(); ?>
        </article>
        <?php
    endwhile;
    wp_reset_postdata();
    ?>
</section>
<?php get_footer(); ?>
wp_reset_postdata() matters: without it, anything after the custom query thinks the current post is the last blog post.
Step 7: Install the theme and test it
- Zip the
brightlinefolder, so the zip contains the folder rather than loose files. - Go to Appearance → Themes → Add Theme → Upload Theme, choose the zip and activate it. Our guide to installing a WordPress theme manually covers FTP uploads and common errors.
- Create Home, About, Contact and Blog pages. Under Settings → Reading, set "Your homepage displays" to a static page, with Home as the homepage and Blog as the posts page.
- Under Appearance → Menus, build a menu and assign it to the Primary menu location.
- While testing, add
define( 'WP_DEBUG', true );towp-config.phpso PHP warnings show on screen. Turn it off before launch.
On our test install, the home page printed the three stylesheets in dependency order, the menu marked Home with current-menu-item, and the Home page's editor content appeared inside the front-page layout.
How do you make more of the design editable?
Everything still hard-coded in a template file can only be changed in code. To hand more control to the site's owner:
- Add Customizer settings for one-off values such as the hero headline, phone number or footer text.
- Turn repeated sections (services, team, testimonials) into block patterns the owner can insert and edit in the block editor.
- Use custom fields for structured content, such as a price on every service page.
Our guide to customizing a WordPress theme shows what owners can then change without code.
Skip the conversion: buy the WordPress version
Some authors sell the same design as an HTML template and as a WordPress theme. On manob.ai, these pairs come from the same authors, and their demos share the same sections. The Agrofarm theme's listing names Elementor and WPML support.
| Template | Type | Built with | Price from | Live demo |
|---|---|---|---|---|
| Agrofarm - Agriculture Farming & Gardening HTML Template | HTML template | — | $21 | Demo |
| Agrofarm - Agriculture Gardening & Organic WordPress Theme. | WordPress theme | — | $42 | Demo |
| DreamHub Dentist & Dental Clinic HTML5 Template | HTML template | — | $27 | Demo |
| DreamHub Dentist WordPress Theme | WordPress theme | Elementor | $41 | Demo |
| Dreamhub Interior-Design HTML5 Template | HTML template | — | $29 | Demo |
| DreamHub – Interior and Architecture WordPress Theme | WordPress theme | WooCommerce | $32 | Demo |
A ready theme often includes things a hand conversion skips, such as theme options or demo content, so check what each listing includes. Compare our business WordPress themes and HTML5 templates by industry, or browse all WordPress themes. Every item can be previewed before purchase.
Can you convert a template you bought?
For one site, usually yes, but the license decides. On manob.ai, a Regular License covers a single end product whose end users aren't charged, an Extended License covers one where they are, and neither allows redistributing the source as-is (license terms). Converting a template for a client's site fits a single end product. Selling your converted theme to others is redistribution, and so is submitting it to the WordPress.org directory, which also requires themes to be "100% GPL or compatible".
Frequently asked questions
What files does a WordPress theme need?
A classic theme needs style.css and index.php. A block theme needs style.css and templates/index.html. Everything else, including functions.php, header.php and footer.php, is optional but standard.
Can I convert HTML to WordPress without coding?
Not cleanly. You can paste sections into Custom HTML blocks, but that content is hard to edit later. The code-free routes are rebuilding the design with a page builder, or buying a WordPress version of the same template.
Why isn't my CSS loading in the converted theme?
Check that header.php calls wp_head(), that the files are enqueued in functions.php, and that paths use get_template_directory_uri(). Relative paths copied from the HTML files point to the wrong folder on WordPress pages.
Do I need to know PHP to convert HTML to WordPress?
Only a little. Most of the work is cutting HTML into files and adding a short list of template tags such as wp_head(), wp_nav_menu(), the_title() and the_content().
Should I build a child theme instead?
No. A child theme modifies an existing theme. When you convert your own HTML design, you're building a standalone theme.